Sunday, August 2, 2015

Introducing the "6-character alphanumeric LED Arduino shield"

This shield offers a quick way to add alphanumeric display capabilities to your Arduino project. It is based on the 14-segment 6-character LED display driven by two multiplexed MAX7221 drivers, through a method described in this application note.

 US$ 26 - free shipping to North America

The kit includes:
  • PCB
  • 2 x MAX7221 + 2 x 24-pin sockets
  • 6-character 14-segment common cathode LED display
  • 2 x 33k resistor
  • 2 x 100nF capacitor
  • machined header (as socket for the display)
  • male header (for the shield)


The board has a small prototyping area for adding project-specific parts, for example buttons and buzzer if you want to build an alarm clock (basic clock code for this shield here). Assembled, showing the time (from wsduino):


or, displaying text:


The shield uses Arduino pins D3, D4 and D5.


Sunday, July 12, 2015

Experimenting with MAX6955

MAX6955 is an interesting LED driver chip. It is the primordial charlieplexing device, being the materialization of a technique invented by Charlie Allen of Maxim Integrated. Without understanding how charelieplexing works, it is actually counter-intuitive to wire multiple (up to 8) 16-segment displays to such a driver chip. Fortunately, Maxim has great documentation on how to do it.


My experimenting actually started with MAX6954. After many failed tries due to SPI issues (Maxim uses a special interpretation of the protocol, I read), I switched to MAX6955.

MAX6955 is the I2C sibling of MAX6954 (which uses SPI). They both have identical LED driving abilities, only the microcontroller interface part of the chips differ. Once, both chips were available in DIP-40 package. Now, MAX6955 only comes in SSOP-36 (MAX6954 is still available in DIP-40). Luckily, the pin configurations for the two chips are compatible, which allows for easy swap. For this reason, I designed a breakout board (shared at oshpark), so I can use the same setup I built for MAX6954.


Beside Maxim's, there isn't much documentation on how to control these chips. One of the reasons they are rarely used by hobbyists is probably their price (about $20 at digikey), although in the same range as the wildly popular MAX72xx LED driver (available at around $10 from digikey). In "reality", for some reason, MAX72xx could be had for $1 or less on ebay, unlike MAX6954/6955. Therefore, a hobby kit designed around MAX6955 would be "extremely" expensive compared with others using different LED driving chips (e.g. MAX72xx).

MAX6954/6955 was designed to drive common cathode LED displays, like MAX72xx. But unlike MAX72xx, it cannot be used for displays with common segments (which require multiplexing), like the ones below (and used here). MAX6954/6955 requires the 14/16-segment displays to be single digit/character, because not all segments will be wired together.


Below is the Arduino sketch I wrote that works very well with MAX6955. Although it uses a minimal set of commands, it is capable of displaying a character at a given position, light up the dot, and even scroll a long message.

A nice feature of the chip is that the fonts are predefined, this making it an "intelligent" display driver, like Avago's HDSP-2534. To display a character, only its ASCII code needs to be supplied.

#include "Wire.h"

#define ID_MAX6955 B1100000 
#define NUM_DISPLAYS 6

#define max6955_reg_decodeMode      0x01
#define max6955_reg_globalIntensity 0x02
#define max6955_reg_scanLimit       0x03
#define max6955_reg_configuration   0x04
#define max6955_reg_displayTest     0x07
#define max6955_reg_digitType       0x0C

int writeMAX6955(char command, char data)
{
    Wire.beginTransmission(ID_MAX6955);
    Wire.write(command);
    Wire.write(data);
    Wire.endTransmission();
}

void initMAX6955()
{
    Wire.begin();
    // ascii decoding for all digits;
    writeMAX6955(max6955_reg_decodeMode, 0xFF);
    // brightness: 0x00 =  1/16 (min on)  2.5 mA/seg;
    // 0x0F = 15/16 (max on) 37.5 mA/segment
    writeMAX6955(max6955_reg_globalIntensity, 0x07);
    // active displays: 0x07 -> all;
    writeMAX6955(max6955_reg_scanLimit, 0x07);
    // set normal operation;
    writeMAX6955(max6955_reg_configuration, 0x01);
    // segments/display: 0xFF=14-seg; 0=16 or 7-seg;
    writeMAX6955(max6955_reg_digitType, 0x00);
    // display test off;
    writeMAX6955(max6955_reg_displayTest, 0x00);
}

void setup()
{
  // set D8 and D9 to GND (for I2C address);
  pinMode(8, OUTPUT);
  pinMode(9, OUTPUT);
  digitalWrite(8, LOW);
  digitalWrite(9, LOW);

  initMAX6955();
  delay(100);
  clear();
//  writeDisplay("HI");
//  writeChar(0, 'A', true);
//  scrollDisplay("     HELLO WORLD", 300);
  writeTime(15, 24, 39);
}

void loop()
{
}

void writeDisplay(char* msg)
{
  for (byte i=0; i < NUM_DISPLAYS; i++)
  {
    if (i < strlen(msg))
      writeMAX6955(0x25-i, msg[i]);
    else
      writeMAX6955(0x25-i, ' ');
  }
}

void writeChar(byte pos, char letter, boolean dotLit)
{
  writeMAX6955(0x25-pos, (dotLit? 0x80 : 0) | letter);
}

void clear()
{
  for (byte i=0; i < NUM_DISPLAYS; i++)
    writeMAX6955(0x25-i, ' ');
}

void scrollDisplay(char* msg, int delayMs)
{
  for (int i=0; i<=strlen(msg); i++)
  {
    writeDisplay(msg+i);
    delay(delayMs);
  }
}

void writeTime(int hours, int minutes, int seconds)
{
  char h1 = (hours/10)? '0' + hours/10 : ' ';
  writeChar(0, h1, false);
  char h2 = '0' + (hours%10);
  writeChar(1, h2, true);
  char m1 = '0' + (minutes/10);
  writeChar(2, m1, false);
  char m2 = '0' + (minutes%10);
  writeChar(3, m2, true);
  char s1 = '0' + (seconds/10);
  writeChar(4, s1, false);
  char s2 = '0' + (seconds%10);
  writeChar(5, s2, false);
}

The I2C address of B1100000 was set by grounding AD0 and AD1 (see table 5 in the datasheet on how to change that address). In my setup, these 2 pins are connected to D8 and D9. Don't forget to pull-up SDA and SCL with 4k7-10k resistors.

The left-most digit is at position 0, accessible at address 0x25. "Digit 1" is the second from left, accessible at address 0x24, and so on. This is determined by the wiring. In my case, "CC0" (in the table 1 of this application note) represents the right-most display, and it is accessible at address 0x20.

Wednesday, July 8, 2015

LED driver chips

After looking at the many options for driving LED displays (5x7/8x8 matrix, 7/14/16/25 segment, common anode/cathode, single/bi-color/RGB), I put together this list of commonly used LED driver chips, to have a better picture of possible combinations, and use it as reference for future projects.


The bottom 5 rows are not actually LED drivers, just substitutes (require current limiting resistors).

Some of the driver chips (e.g. "8x8" in the "channels" column) provide internal multiplexing, being designed specifically for driving array of LEDs. The others, where "channels" is just one number, would require extra circuitry (e.g. transistors) and logic (micro controller code) for multiplexing.

The "CA" column indicates "common anode", "CC" stands for common cathode.

There seem to be more options for driving common anode LED displays, probably because sinking current (by the chips' LED outputs) allows for higher currents and also for using a separate power source (usually higher voltage) for the LEDs.


Tuesday, July 7, 2015

Wise Clock 4 with the new 3mm 3216 LED display from Sure

My inventory of "old" 3216 3mm displays from Sure Electronics is now depleted. As everybody already knows by now, Sure redesigned the display to be powered with 12V instead of 5V (plus a few other cosmetic changes).
The Wise Clock 4 board cannot be plugged into the new display's connectors anymore, since they are now different (10 pins instead of 16), and the assignment of signals to pins has changed as well.

Making a seamless Wise Clock 4 with the new display is still possible, with a little more soldering work. The board will be connected to the display using the ribbon cable provided. To do this, cut one connector off the ribbon cable, then solder 5 wires (4 signal + ground) from the cut end of the ribbon, in the place of the header, as shown in the photo below.


The 5V power line from the clock's board (red wire in the photo) will be soldered separately from the ribbon cable, bypassing the display's 5V regulator, as shown in the next photo.


The new display is "top heavy", that is, it has the connectors and the 5V regulator (with large capacitors and inductors) at the top. These may interfere with the clock's buttons and the SD card. To avoid touching them accidentally, it is better to position the display upside down, as shown in the next photo.


For this reason, the sketch needs a little tweaking: all pixel-related functions in HT1632.cpp file will have to change the coordinates, like this:

void ht1632_plot (coord_t x, int8_t y, byte color)
{
#ifdef WANT_UPSIDE_DOWN
  x = X_MAX-1 - x;
  y = Y_MAX-1 - y;
#endif
...
}

The macro WANT_UPSIDE_DOWN is defined in UserConf.h.

Also notice that the Wise Clock 4 board is now mechanically  fixed to the back panel (because it's not plugged in the display's connectors anymore).
Needless to say that the laser-cut plates for the two version of the displays are not compatible, since the displays' dimensions are different.


I will continue to provide a "complete kit" that includes the new display, the 2 plates, and the screws + standoffs. The back plate won't have the 2 holes (for the board) drilled though. This "complete kit" may not have the two 2x8 female headers (since they are not needed, and will even be detrimental). In case the headers are in the kit, DO NOT SOLDER THEM if you use the new display.
The processor in the "complete kit" will be loaded with the sketch for the new display, with the software modification mentioned above.

Monday, July 6, 2015

My impression of Akafugu Nixie Modular Clock

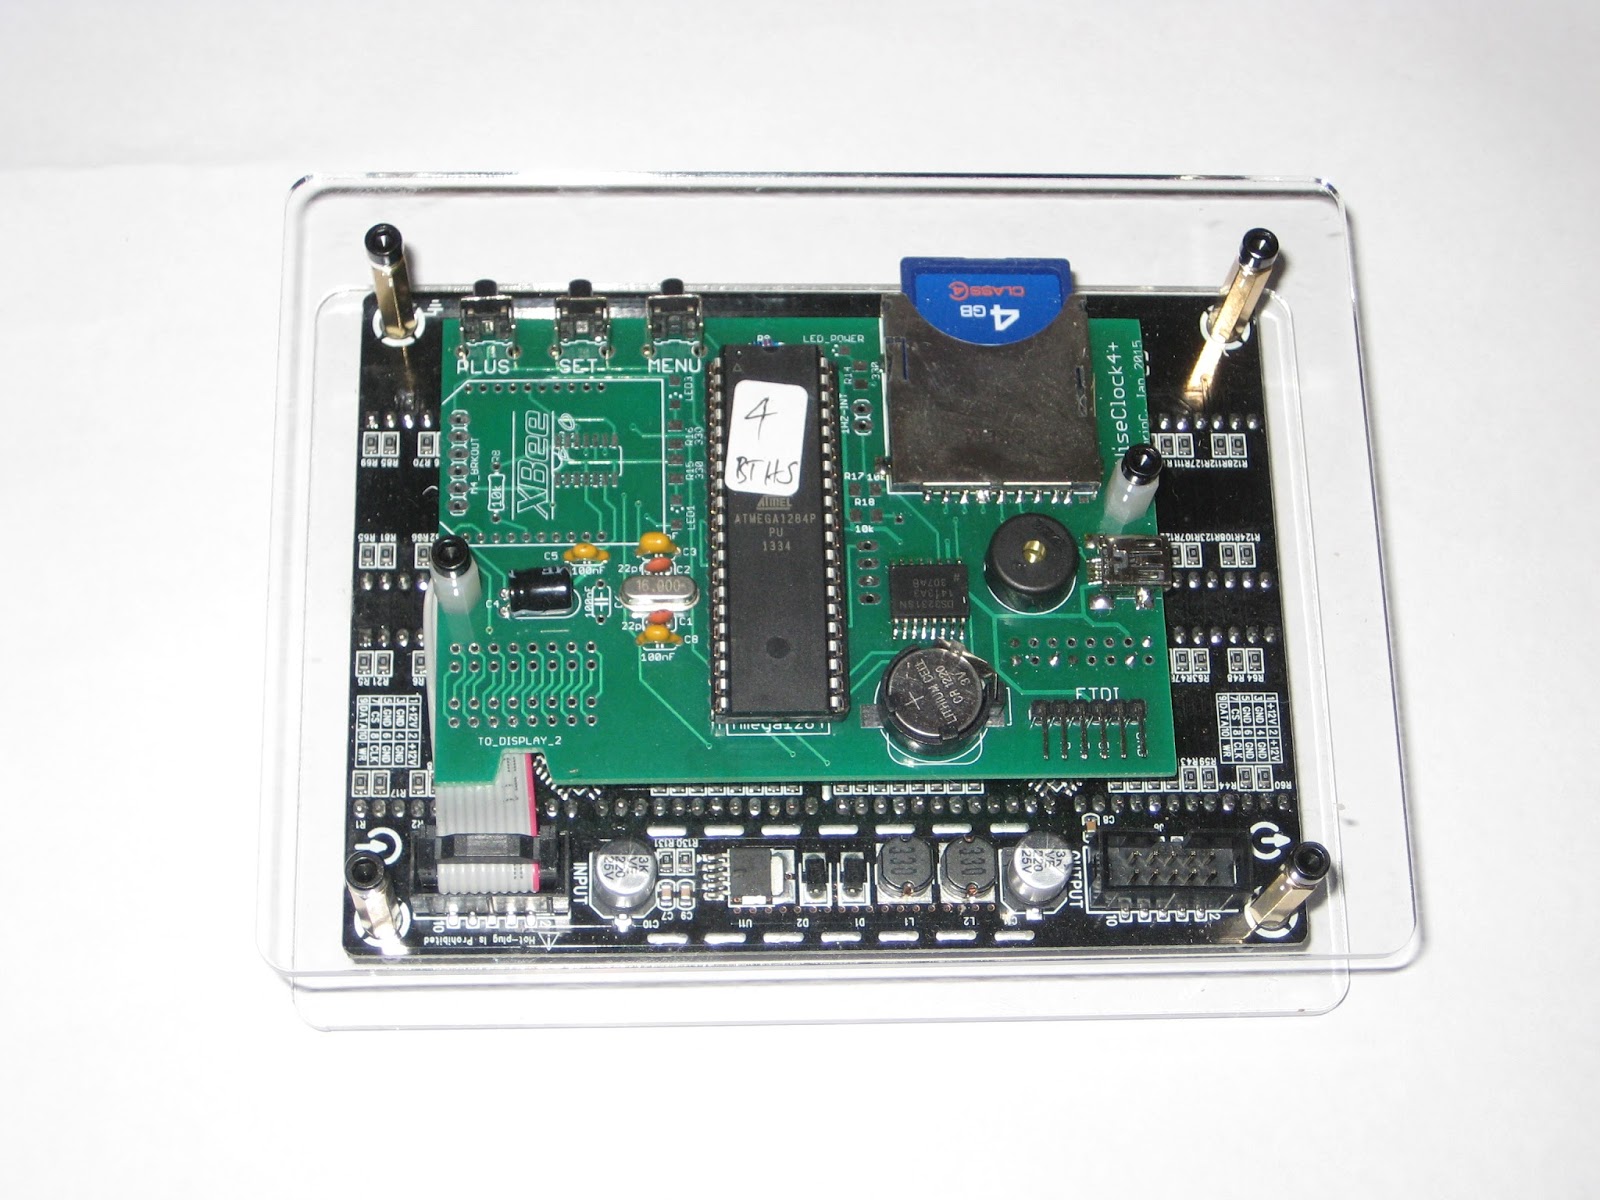
You are reading the first ever "review" of the Akafugu Nixie Modular Clock, a product yet to be released at the time of writing. Per, of Akafugu, generously offered to sell me the PCBs for this Nixie clock; the parts were sourced by myself.


The Nixie Modular Clock shares a big chunk of the schematic with its older sibling, the Akafugu Nixie Clock. The goal of this latest design is, I assume from the name, the "modularity". Similar to the VFD Modular Clock, "shields" for various types and numbers of Nixie tubes will probably be developed soon.

The hardware
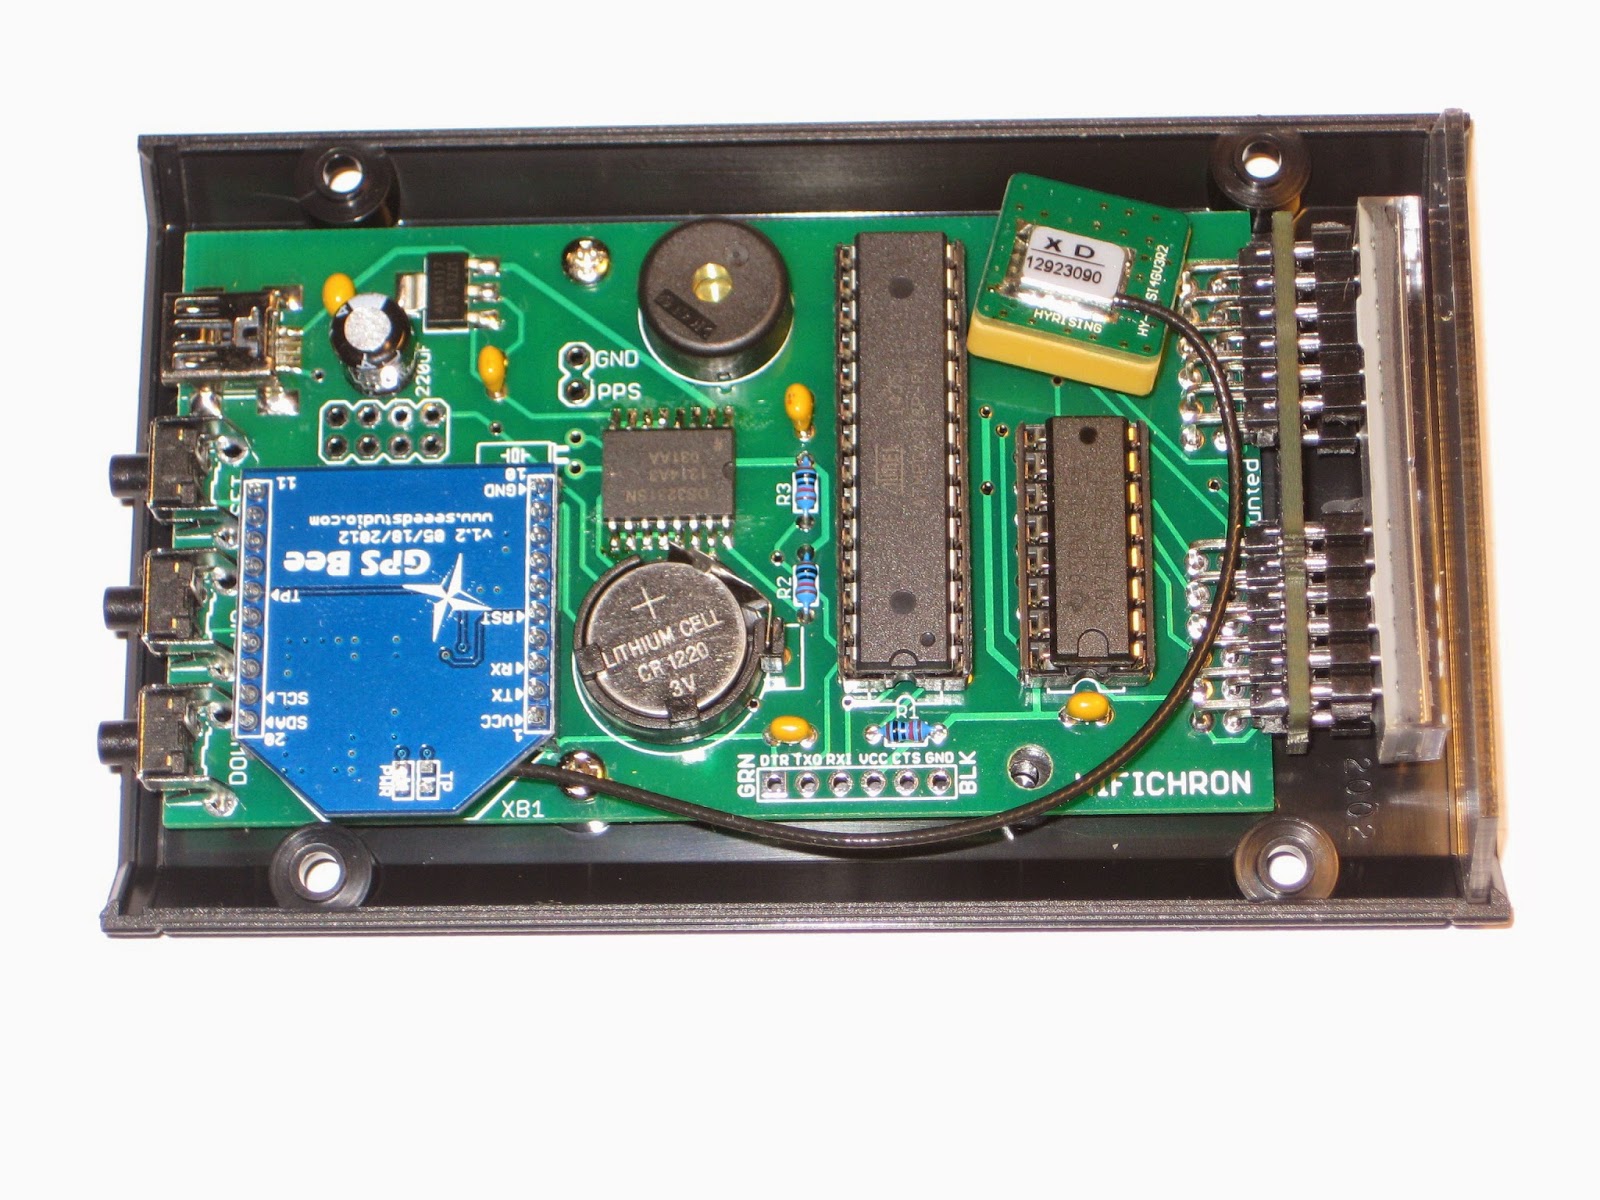
This Nixie Modular Clock is an Arduino-based, open source project, designed around ATmega328 running on internal oscillator at 8MHz. Like the Akafugu Nixie mk3, the high voltage source (180-200V) uses the MC34063 DC-DC converter, and the driver for Nixies is HV5812. There are 3 buttons: 2 in the back, for setting up the time and alarm time, and another long-stem, protruding through the top board, for enabling/disabling the alarm. An orange LED in the front indicates if the alarm is active or not.
The PCB for the commercial version will be red, I was told (as shown below :).


Assembly
Building the clock is straightforward (as long as all parts are in hand, which will be the case when the kit becomes available). The assembly instructions are easy to follow and very clear, with lots of details and helpful photos. Some of the parts I picked (electrolytic capacitors, inductor) were a little too high, so I had an issue with the clearance between the 2 boards. I was able to "correct" that (meaning increase the distance between boards) by using long-legged headers lifted on male-headers plastic insulators (see the photo below).


I did not install the lamp between the hours and minutes. I was surprised to see that the unit-hours tube (second from left) blinks its decimal point!
The clock has also support for "background" LEDs (blue recommended), but I did not solder those either.

The software..
..is also open source and available here. A nice feature that every programmer will love is that it covers both Nixie Clock and Nixie Modular Clock (plus variants of the latter, like 6-tube clock) by using macro definitions. Not to mention that the code compiles and works without a glitch. It also has support for GPS.

Enclosure
Although I like the elaborate enclosure that Akafugu designed, I tried my own, by using simple plates to cover the exposed soldered pins, on both top and bottom. To me, the open sides are ok as long as small children don't stick their fingers (or grownups screwdrivers) in there :)
My suggestion is to make the top plastic plate of the enclosure (shown in akafugu's photo of the clock) transparent, rather than opaque black, which hides the elaborate design/silkscreen of the tube PCB.

Conclusion
I think that the Modular Nixie Clock will be another success. Its aesthetics, compact size and feature-rich software set a new standard in the world of Nixie clocks. Remember, most of the Nixie clocks one can buy on etsy, ebay or other sites, are non hack-able hardware or software. If you want one to tinker with, then Akafugu Modular Clock is for you.

Sunday, July 5, 2015

Introducing wsduino

This project is actually a revisit of my old Wiseduino, with the same goal: an Arduino-compatible with on-board Real Time Clock, and some extras (in this case, an XBee-like device, e.g. BTBee, GPSBee, WiFly). I renamed it "wsduino", although the pronunciation should remain the same :)

I redesigned wsduino mainly for the Axiris IV3 clock, whose enclosure allows for only 2 boards (Arduino + IV3 shield), with openings for power socket, USB, and no accessible buttons. Essentially, wsduino saves you an extra shield, which would have hosted the RTC (+backup battery) and the XBee.

 US$27 - free shipping to North America

wsduino is now available as a kit, as shown in the photo below.


The wsduino kit includes:
  • PCB
  • ATmega328 processor with bootloader
  • 28-pin socket
  • 16MHz crystal
  • 2 x 22pF capacitor
  • power jack
  • 7805 voltage regulator
  • 1N4001 diode
  • USB miniB socket
  • DS3231 RTC (SMD)
  • A1117 3V3 regulator (SMD)
  • CR1220 battery + holder
  • 4 x 10k resistor
  • 4k7 resistor
  • 3 x 100nF capacitor
  • 47uF/25V capacitor
  • 47uF/16V capacitor
  • 470uF/10V capacitor
  • 2 x 10-pin 2mm female header for XBee
  • 40-pin 0.1" female header
  • 3-pin header + jumper (selection of power source)

An FTDI breakout is required to upload sketches.

Although the assembly is quite trivial, I enumerate below the steps, for the detail-oriented :)
  1. solder the DS3231 SMD chip on the bottom of the PCB, making sure the chip orientation is correct;
  2. solder the A1117 chip, also on the bottom of the PCB;
  3. solder the resistors R1-R4 (their values are shown in silkscreen);
  4. solder the IC socket, with the correct orientation of the notch; then insert the ATmega328 chip (after you bent the two sides of pins on a flat surface, one side at a time, to become parallel);
  5. solder the crystal (orientation does not matter)
  6. solder the USB miniB socket;
  7. solder the 7805 voltage regulator to match its shape in silkscreen;
  8. solder the ceramic capacitors (orientation does not matter);
  9. solder the 3 electrolytic capacitors, paying attention to their orientation;
  10. solder the diode, also paying attention to its orientation;
  11. solder the power jack;
  12. solder the 2 XBee headers;
  13. cut, then solder, the extension headers;
  14. solder the battery holder, then insert the battery.
Schematic and board layout are shown below.


Here are some photos of the assembled board.

A  minimal wsduino is shown below, with the ATmega328 running on the internal oscillator at 8MHz, powered directly through the USB miniB socket.


The RTC (DS3231) and 3V3 voltage regulator are soldered on the bottom.


Perfect Arduino-compatible to quickly build a clock. Just add a display shield :)


Friday, July 3, 2015

Wiseduino Next Generation

You have a "tube shield" like the Axiris IV3 shield or the Nixie shield and you want to make a clock. You will definitely need an Arduino. You can either program it to (roughly) count the seconds, minutes, hours, or you can add an extra RTC, specialized in (accurate) time keeping, and program your Arduino to just get the time from RTC. The latter is Wiseduino, the first board I ever designed (also discontinued a long time ago). I badly needed one to finish the Axiris IV3 clock, since neither the software solution (second-counting) nor the hardware solution (adding a second RTC shield) was suitable. And so I re-designed it, improved on existing features (power, RTC) and added new ones (support for XBee/BTBee/GPSBee). This new version, spelled "wsduino" (but still pronounced "wiseduino") is shown below, next to the Axiris IV3 shield.


The wsduino board has an Arduino-compatible footprint, so it fits perfectly in the Axiris-designed-and-made enclosure (which I got as a gift from Nick :).


As you notice from the photo, the crystal is optional. Lately, I prefer to run the ATmega328 processor with the internal oscillator at 8MHz. The fewer the parts, the fewer the points of failure (and also cheaper). The wsduino board can be powered from either the USB miniB connector, or from the barrel connector, through a 7805 voltage regulator, selectable with a jumper. The board also has a 500mA 3V3 regulator, soldered on the bottom.

The DS3231 RTC is also soldered on the bottom. An XBee-footprinted serial device is connected to Rx/Tx of ATmega328, with voltage-divider level-shifting for Tx (pin D1). For the Axiris clock, I used the BTBee as a way to set the time and date, since the enclosure was not designed with buttons in mind. The sketch can be found here.


The photo below shows a couple of wsduino bare boards, top and bottom.


wsduino kit can be purchased here.

Wednesday, June 24, 2015

WiFiChron fix and other WiFis

The peculiar feature of the "May 2015" revision of WiFiChron board is that it was designed to use software serial to communicate with either the XBee or ESP module. The reason is related to debugging. I wanted to be able to send messages to the serial monitor while (software serially) communicating with the serial device. This solution works well for XBee (GPSBee, BTBee), but not for ESP8266, only because the software takes more than the available 2K of RAM in this case (WiFi + software serial).

The immediate fix to use the ESP module is to connect its Rx/Tx lines to Rx/Tx of the processor. The existing connections can be left uncut, since they are not used in the sketch for ESP8266. The wiring should be like in the photo below.


The "permanent" fix would be re-designing the board to use ATmega1284 SMD (DIP-40 would not fit).

Talking about 1284, take a look at Farit's WiseClock4 mod. He used the WiseClock4 board, but completely re-wrote the software, including, it seems, the definition of new fonts. The SD card is now used for storing MIDI files (among others) that can play tunes through the Fluxamasynth shield.


A few of the other hardware and software features are:
  • WiFi access to the internet through WiFly module;
  • accurate time keeping through NTP;
  • display weather forecast read from the web;
  • daily alarms;
  • automatic adjustment of the display brightness with light sensor;
  • user-selectable display color.
The exquisite and elaborate wooden enclosure adds even more character.

And a photo of the internals, with the extra hardware:


Farit also shared the software he wrote, hopefully an inspiration for future mods.

Thursday, June 11, 2015

Prototype 14-segment-display shield

Update Apr 14, 2019: The kit for this shield can be ordered here.

There are many ways (*) to drive the 6-digit 14-segment common cathode display from Seeed Studio.
This time I chose to multiplex two MAX7221, a method described here (but used for driving a bi-color 8x8 LED matrix).


The code is based on LedControl library, which I extended to cover the definition and display of 14-segment characters (digits, upper case letters, and a few specials). Below is a relevant fragment of the code I added:

/*
* Segment names in the 14-segment (plus DP) display:
*
*     -     A
*   |\|/|   F,I,J,K,B
*    - -    G,H
*   |/|\|   E,N,M,L,C
*     -  .  D,P
*/
// my wiring:
//            GFEDCBAx
// 1st byte: B11111111
//
//            NHJIKMLP
// 2nd byte: B11111111

const static byte charTable14Seg[43][2] = {
    {B01111110,B10001000},  // 0
    {B00001100,B00001000},  // 1
    {B10110110,B01000000},  // 2
    {B00011110,B01000000},  // 3
    {B11001100,B01000000},  // 4
    {B11010010,B00000010},  // 5
    {B11111010,B01000000},  // 6
    {B00000010,B00001100},  // 7
    {B11111110,B01000000},  // 8
    {B11011110,B01000000},  // 9
    {B00000000,B01000000},  // :
    {B00000000,B01000000},  // ;
    {B00000000,B01000000},  // <
    {B00000000,B01000000},  // =
    {B00000000,B01000000},  // >
    {B00000000,B01000000},  // ?
    {B00000000,B01000000},  // @
    {B11101110,B01000000},  // A
    {B00011110,B01100100},  // B
    {B01110010,B00000000},  // C
    {B00011110,B00100100},  // D
    {B11110010,B01000000},  // E
    {B11100010,B01000000},  // F
    {B01111010,B01000000},  // G
    {B11101100,B01000000},  // H
    {B00000000,B00100100},  // I
    {B00111100,B00000000},  // J
    {B11100000,B00001010},  // K
    {B01110000,B00000000},  // L
    {B01101100,B00011000},  // M
    {B01101100,B000100L0},  // N
    {B01111110,B00000000},  // 0
    {B11100110,B01000000},  // P
    {B01111110,B00000010},  // Q
    {B11100110,B01000010},  // R
    {B11011010,B01000000},  // S
    {B00000010,B00100100},  // T
    {B01111100,B00000000},  // U
    {B01100000,B10001000},  // V
    {B01101100,B10000010},  // W
    {B00000000,B10011010},  // X
    {B00000000,B00011100},  // Y
    {B00010010,B10001000},  // Z
};
...
void setChar14Seg(byte pos, byte ascii)
{
  if (pos>7)
    return;

  if (ascii>90 || ascii<48)
    return;

  byte index = ascii - 48;
  for(byte seg=0; seg < 8; seg++)
  {
    SetLed(SEG_AG, pos, seg, charTable14Seg[index][0] & 1 << seg);
    SetLed(SEG_GN, pos, seg, charTable14Seg[index][1] & 1 << seg);
  }
}

This method (hardware and software) can be used for up to 8 14/16-segment displays.


(*) Should be the topic of a future post.


Monday, May 18, 2015

Ideas

First off, a new adapter for the WiFiChron or HDSP clock. The 8-LED Neopixel stick from adafruit has the perfect dimensions to fit them. Naturally, the time is displayed in color code. The best definitions for the 10 colors I could come up with are these:

byte color[10][3] =
{
  {0,0,0}      /*black*/,
  {30,9,0}     /*brown*/,
  {100,0,0}    /*red*/,
  {128,60,0}   /*orange*/,
  {110,120,0}  /*yellow*/,
  {0,64,0}     /*green*/,
  {0,0,111}    /*blue*/,
  {64,0,63}    /*violet*/,
  {15,15,15}   /*grey*/,
  {127,127,127}/*white*/
};

The clock code is trivial, especially because it's using the great Neopixel library. Below is the most important function:

void displayTime()
{
  byte digit1 = hour/10;
  byte digit2 = hour%10;
  
  strip.setPixelColor(0, strip.Color(color[digit1][0], color[digit1][1], color[digit1][2]));
  strip.setPixelColor(1, strip.Color(color[digit2][0], color[digit2][1], color[digit2][2]));

  digit1 = minute/10;
  digit2 = minute%10;

  strip.setPixelColor(3, strip.Color(color[digit1][0], color[digit1][1], color[digit1][2]));
  strip.setPixelColor(4, strip.Color(color[digit2][0], color[digit2][1], color[digit2][2]));

  digit1 = second/10;
  digit2 = second%10;
  
  strip.setPixelColor(6, strip.Color(color[digit1][0], color[digit1][1], color[digit1][2]));
  strip.setPixelColor(7, strip.Color(color[digit2][0], color[digit2][1], color[digit2][2]));
    
  strip.show();
}

The video I took of the clock in action is, for the lack of a better word, of too little value :), mainly because my camera doesn't seem to distinguish the colors as well as my eyes.

Even though this photo sucks, I added it only as proof :)


The time is shown as "HH MM SS", with spaces between hours, minutes and seconds. 0 is represented by an unlit (off) pixel. It is easy to get used to the colors, with help from the changing seconds.

Note that the 595 shift register on the board is not used (could even be removed, or not mounted at all).

Secondly, here is how one can save $20 on WiFiChron with GPS: use the $12 ublox instead of the $32 GPSBee. Some minimal wiring is required though, to connect 3 lines (5V, Gnd and Rx) to the module. Luckily, the GPS module has the right dimensions to fit in the spot for XBee (without the 2 headers mounted, nor the 74HC125, which is not needed in this case anyway).


If you really want everything to fit in the Serpac A20 box, you need to replace the original antenna with a smaller one (but working just fine), as shown in the next photo.


Thirdly, Craig (thanks very much!) published on thingiverse the plans for a 3D-printed enclosure he designed for Wise Clock 4:


Saturday, April 4, 2015

"Home-made", Wise Clock-based, Alpha Clock Five

I saw Justin's recent post on Alpha Clock Five and I just couldn't resist not to try it myself too. Since I didn't have that clock, I thought of improvising one by making a 5-character display that would plug into my Wise Clock 4 board. The idea was easy, the implementation not so. After many hours of hand-wiring, this is how it looks like.


The displays are 1" single digit alphanumeric (common anode) from sparkfun, now retired. They came with non-functional dots, probably the reason they were less than $2 each.
The spacing between the individual displays is forced by the protoboard.


The 2 boards are connected through the pairs of 2x8 headers. All pins used by Alpha Clock 5 to drive the displays are wired to the unused header on the Wise Clock 4 board.


Not to mention  that the software compilation and upload worked without any glitch (after downloading the very nice DS1307RTC library)

The only regret is that this clock lacks seconds. One extra display would have added lots of extra value, but probably lacked the cool factor (the "6-letter clock" requires a lot more memory to store all 6-letter words than the approx 50k required by the 5-letter-word collection).

You should try this at home :)

Sunday, March 29, 2015

Modding WiFiChron with GPS or Bluetooth

The latest revision of WiFiChron has an XBee socket (beside the ESP8266 8-pin socket), which allows the addition of a few individual features:
  1. GPS-based time synchronization, by using the GPSBee;
  2. displaying messages sent from a Bluetooth device, by using the BTBee/BLEBee;
  3. displaying data acquired from an XBee/ZigBee network of sensors (not implemented yet);


Things did not go smoothly, without some drama though. Naively (I always seem to forget that there is a difference between theory and practice), I designed the XBee/ESP to connect to the serial port, with the expectation that once the development (including testing with debug statements to the serial monitor) is done, I will just plug in the serial module (either XBee of ESP8266) and things will work properly. Well, I had to re-consider this approach once again. Luckily, I had two pins left available (D7 and D17), which I could use for software serial. I re-wired those to the XBee/ESP and used the hardware serial for console communication. Until the next board revision, anyone wanting to follow will need to re-route a couple of traces manually, as shown in the photos below (cuts are red-circled).


A few details on my implementation of the GPS time sync (so that one doesn't need to look at the code to figure it out):
  • user can set a timezone (stored in eeprom, default is -1); there is no (easy) way to determine if the timezone was set or not, since -1 (eeprom byte being 255) is a valid value;
  • estimate the timezone from the longitude, assuming that a every 15 degrees is an hour difference;
  • a difference between GPS estimated timezone and the user-set timezone of more than 2 hours would mean that the time is way off and the user did not set the timezone; in this case, blink the display; a difference of 2 hours or less would be acceptable (for many reasons, including summer-time, or variations from the "15-degrees-longitude-per-hour" approximation);
  • in any case, the minutes and seconds are set from the GPS data;
  • date and day are not set/synchronized at all (currently);
  • the GPS sync is scheduled to happen every 10 hours (and also after a reset);
  • a successful sync is indicated by an up arrow at the end of the scrolling date (e.g. March 29, 2015 ^).
I will publish the code as soon as I have a chance to polish it (and also test it with BTBee).

As you can see in the photo below, the GPS antenna fits well in the case. It also works well: the GPS has good reception inside the house, 5 meters from the closest window.


Tuesday, March 17, 2015

How to assemble the 2-servo mini pan-tilt kit

Mystery solved!

This is somehow embarrassing, but I post it anyway, hoping that it may help others.

Although it looks easy, I had trouble assembling the mini pan-tilt kit from adafruit, specifically the bottom servo. I just couldn't figure out how to fix the servo with screws to the main arm, since there are no holes for screws (unless I drill them myself). Also, there is no guide anywhere to be found (uncharacteristic for adafruit), nor explicit photos of the assembled parts. I thought that there must be a trick, so I bought the assembled version as well. Guess what? The "trick" is obvious, and I missed it because I was focused on using the screws! The bottom servo must be inserted in the 2 tracks on each side of the two symmetrical parts that make the arm, no screws needed!

When assembling the kit, the easiest way is to start by attaching together the 2 symmetrical parts of the arm, with the servo between them. (In the photo below, i was too lazy to completely dis-assemble the 2 halves of the arm, I only pulled them apart enough to fit the servo in between, with servo's bracket in one of the tracks.) Notice the servo's bracket snug in the groove.


See? No screws on either side of the servo! Because they are not needed!


I hope these photos will bring some light and spare the frustration to (probably very few) people like me.

Friday, March 13, 2015

WiFiChron with software support for ESP8266

Another great software update from MikeM (download here)! This one has support for the ESP8266 module, allowing the WiFiChron clock to:
Before getting excited and jumping to compile and upload the new sketch, there are a few steps to be done on the ESP8266 module:

1. pull the CHPD pin high with a 10k resistor to Vcc;

2. make sure you can communicate with the module using a serial port; this could also include checking the version of the installed firmware (AT+GMR);

3. upgrade the firmware on ESP8266 to version 0.9.6.

After you download the bin files, the next step is to find a tool that would upload those bin files onto the chip. There are many tutorials on how to do this, some sketchy and ambiguous, some detailed and very helpful. In my search, I found references to a few different tools: XTCOM (old MFC Windows app), "NODEMCU Firmware Programmer", ESP flash downloader, ESPtool (python).

The easiest one to use for me seemed XTCOM, with my only complaint being that COM port selection was limited to COM1-6. Luckily, on Windows XP I am using, I was able to change the serial port from the default (assigned by the OS) COM9 to COM2 (the only one available in the range COM1 - COM6). I used this tutorial to load this firmware.

4. Change the baud rate from the default (after firmware upgrade) 115200 to 38400, for the following reason: according to the datasheet (table 20-6, page 189), ATmega328 running at 8MHz has an error rate of approx. 8% communicating on serial port at 115200.

Now, with the ESP8266 module prepared and plugged in, to connect to your wireless network, you will need to configure the module by providing the SSID and the password. To start this process, select "Init" for the "Wifi" menu item. There is an additional "init y/n" option to confirm the init. Once in "init" mode, the ESP8266 module starts acting as access point (another wireless network), using the SSID "WiFiChron". Connect to it using the key "WiFiChron" (*).


The clock will display (scrolling) an IP address, something like "192.168.4.1". Connect to the WiFiChron's access point with your computer/laptop/tablet/phone and web-browse to that IP address, as shown in the screenshot below.


Use that page to configure your local access-point SSID and key.  You can also configure an optional SNTP host for synchronizing time and an optional RSS URL.  Fill in something like pool.ntp.org for the SNTP host or http://w1.weather.gov/xml/current_obs/KNYC.rss for the RSS URL.

Clicking on the "Submit" button will send the configuration to the WiFiChron system, which will write it into its eeprom. If you check "Activate" before submitting, the WiFiChron will immediately switch out of access-point mode and attempt to connect to the SSID/key that you've entered.  If you have problems, you can power-cycle the WiFiChron.  It will use whatever settings it has stored in eeprom.

(*) Although the "WiFiChron" network was detected, I could not connect to it from my Windows XP machine (acquiring network address takes forever and eventually fails). It worked much better with my Android tablet. This is the reason why the first screenshot above is from my XP machine and the second is from my tablet.

Update Jan 21, 2020: In Windows 10, connecting to WiFiChron setup page and submitting the parameters works just fine.


NOTE: The ESP8266 module must be taken out of the socket while uploading the sketch (since it's connected to Rx/Tx as well).


Tuesday, February 24, 2015

WiFiChron clock kit now available

Update Sep 18, 2017: Here is the latest revision of the PCB included in the kit.

Update Oct 8, 2015: The latest revision of the PCB (pictured here and here) has hardware support for XBee (which also covers GPSBee, WiFiBee and BTBee).

With this kit you build a clock like the ones shown in the photos below.


Last one, courtesy of Nick, features an yellow/amber display.

There are two buying options:

1. use or make your own enclosure

 (US$47, free shipping to North America)


2. enclosure included (Serpac A20, transparent front panel, screws, back panel hand-drilled with 3 holes for buttons and rectangular opening for the USB connector)


 (US$61, free shipping to North America)

The kit includes the following electronic parts:

  • main PCB
  • display adapter PCB
  • ATmega328 with 8MHz bootloader, programmed with a clock sketch + 28-pin socket
  • 74HC595 shift register + 16-pin socket
  • HDSP-2534 8-character alphanumeric display + 4 x 6-pin machined headers
  • DS3231 + battery holder + CR1220 coin battery
  • LM1117 3V3 regulator
  • 3 x right angle push button
  • 5 x100nF capacitor
  • 3 x 10k resistor
  • 220uF (or so) electrolitic capacitor
  • 2 x 12-pin right angle male header
  • miniB USB connector
  • buzzer
Schematic and board layout are shown below.


The board supports other types of displays as well, through the use of adapters. So far, beside the HDSP-2534 coming with the kit, there are adapters for HDSP-231x and QDSP-6064 (the sketch is different for this one), shown below.


Assembling the kit

Finding the right place for the components on the board should be straightforward, since the silkscreen shows their values and their orientation.
It is very important to pay attention to a few aspects:
  • the orientation of the DS3231: the key (pin 1) must be the top-right on the board (so that you'll see the marking on the chip upside-down);
  • solder the USB mini-B connector BEFORE the capacitors surrounding it, or otherwise you'll be forced to solder the USB's ground and Vcc pins (the 2 extreme pins among the 5) in a very cramped space;
The procedure to attach the display is as follows:
  • first insert the little adapter PCB all the way into the right-angle headers, then the headers themselves into the main PCB; solder the headers to the main board first, making sure that the small PCB adapter is perpendicular on the main board;
  • solder the display adapter PCB to the male headers, after it's inserted all the way, with the so the headers' pins stick out;
  • cut the sticking pins to the PCB level; at this point you have the adapter attached and connected (perpendicular) to the board, and you are ready to solder the HDSP-2534 display;
  • insert the machined headers into the HDSP-2534 display first, then insert the HDSP-2534 display with the attached machined pins into the adapter PCB until all pins are accessible on the other side;
  • solder the machined pins, on the side facing the main board (the bottom row is just underneath the main PCB, the top row is above the main PCB). In the end, it should look like in the photo below.


Then insert the display with the key (the "cut" corner) in the left bottom of the adapter.

An assembly video can be also found in this post..

As of Oct. 8, 2015, an HCMS-29xx adapter is available (shared on oshpark), for use with the "serial"  intelligent displays (as opposed to the "parallel" HDSP-2534 coming in the kit).